Business Student at The University of Victoria | Competitive Freeride Skier and Enduro Mountain Biker

Category: Inquiry

This is the category to apply to your Inquiry posts.

Group Deeper Dive Inquiry – Final Summative Product

As a skier and biker, I have always been interested in video editing and made my own edits for Instagram. When I heard we got to choose our topic for our inquiry assignment, I got very excited and knew I wanted to improve my video editing skills. Throughout my life, I have always just taken videos with my iPhone, but this December, my friends invited me on a backcountry ski trip to The Wendy Thompson Hut with our friends who were professional videographers.

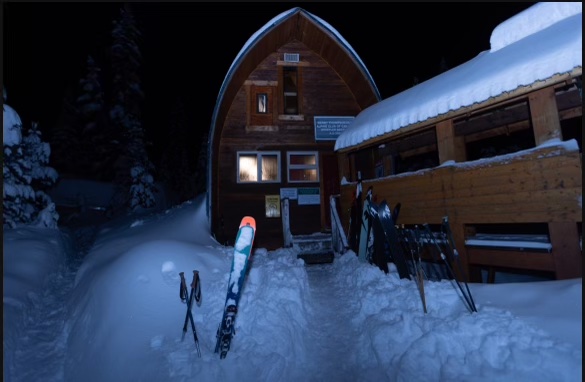
Photo taken by: Jayden Innis

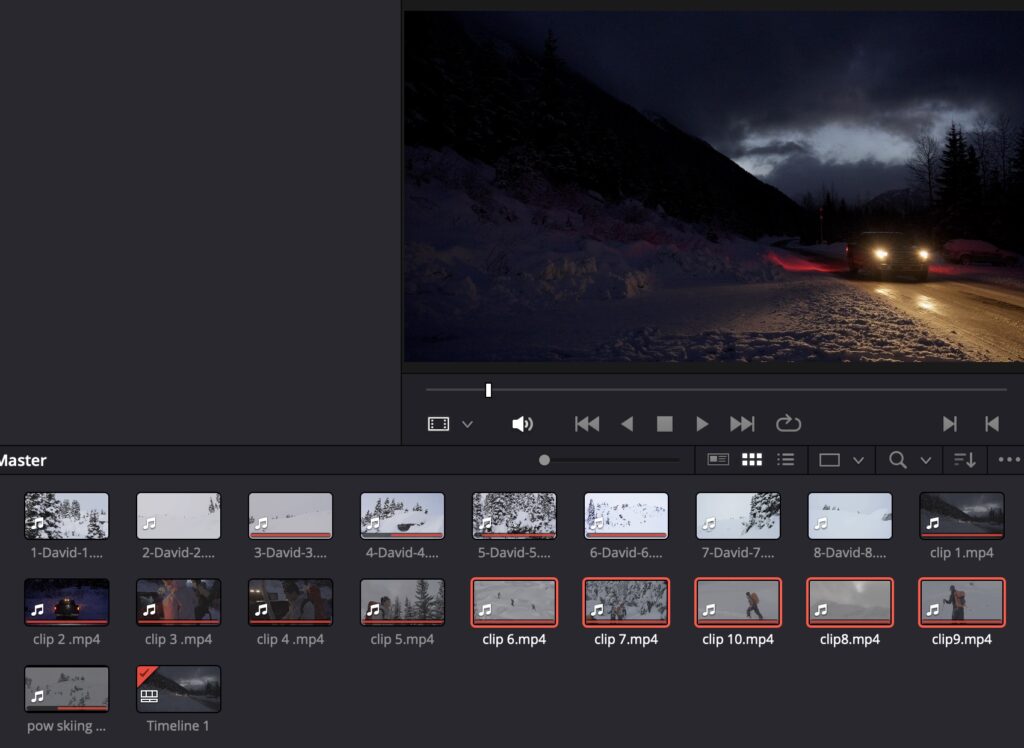
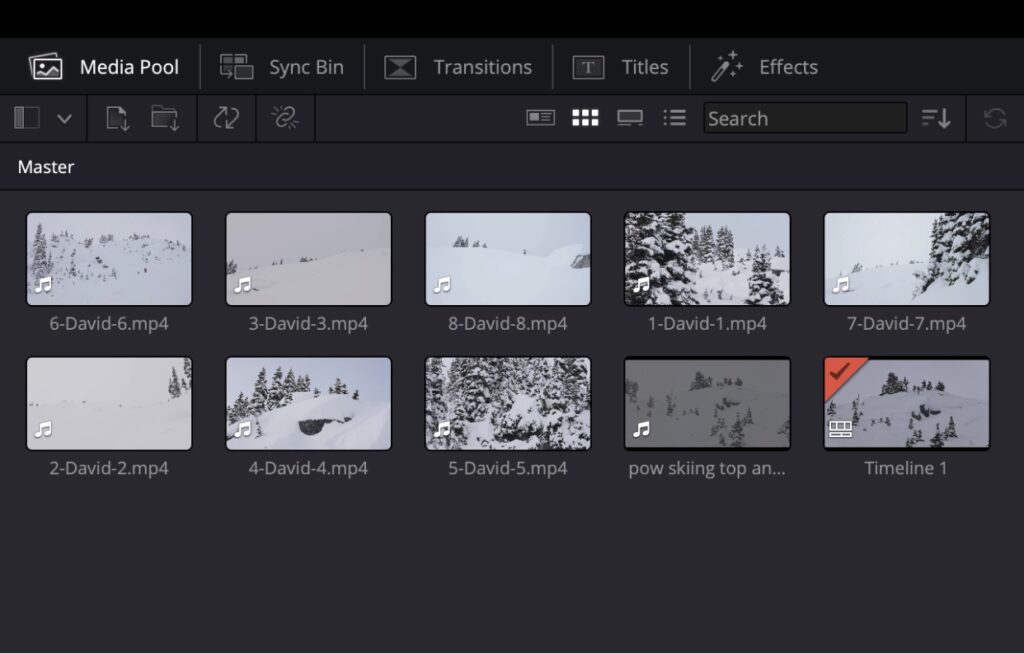
I was really excited for this trip as we had just gotten fresh snow. This trip was amazing, and we got some really cool videos. Here is a link to one of the videos my friend made from the footage: Canadian Ski Film. Once I got a hold of the folder with all the videos, I began my journey in editing and creating a video of just myself.


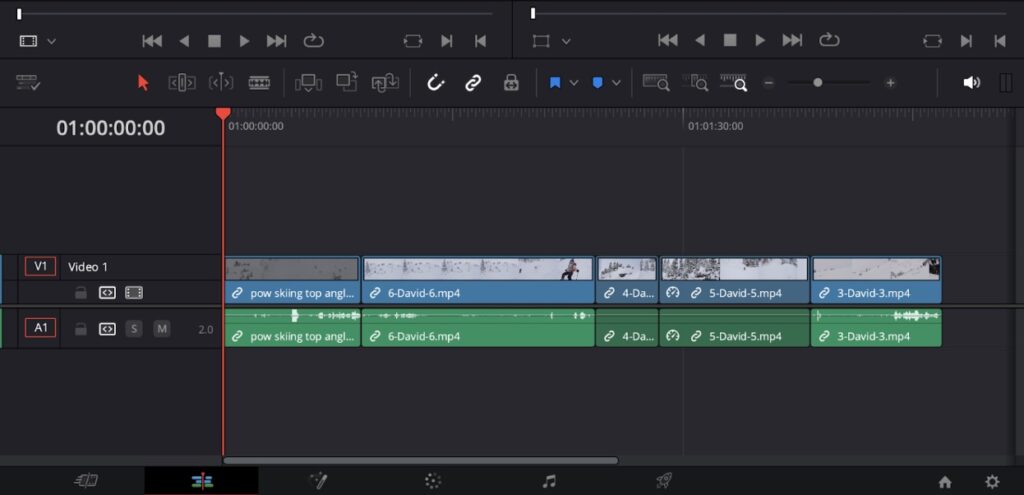
Beginning the Editing Process

When I began this project, I first had to decide what editing software to use. After a lot of research, I chose DaVinci Resolve, as it had pretty much all the same tools as any Adobe software, but it is completely free. If you are getting into editing, I would highly recommend DaVinci Resolve! Research suggests that access to professional-grade tools, even free versions, significantly enhances video and media production skills (Copple, 2023).

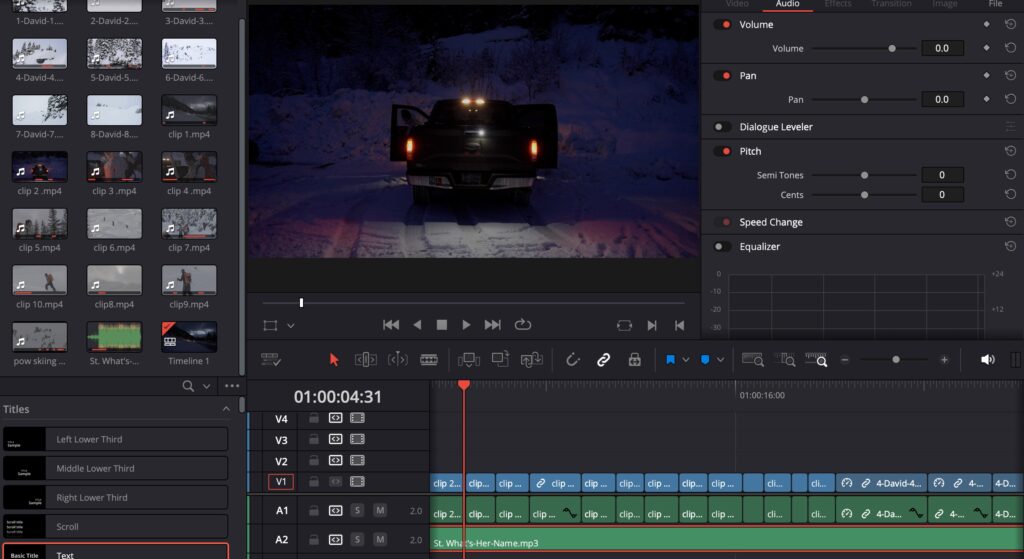
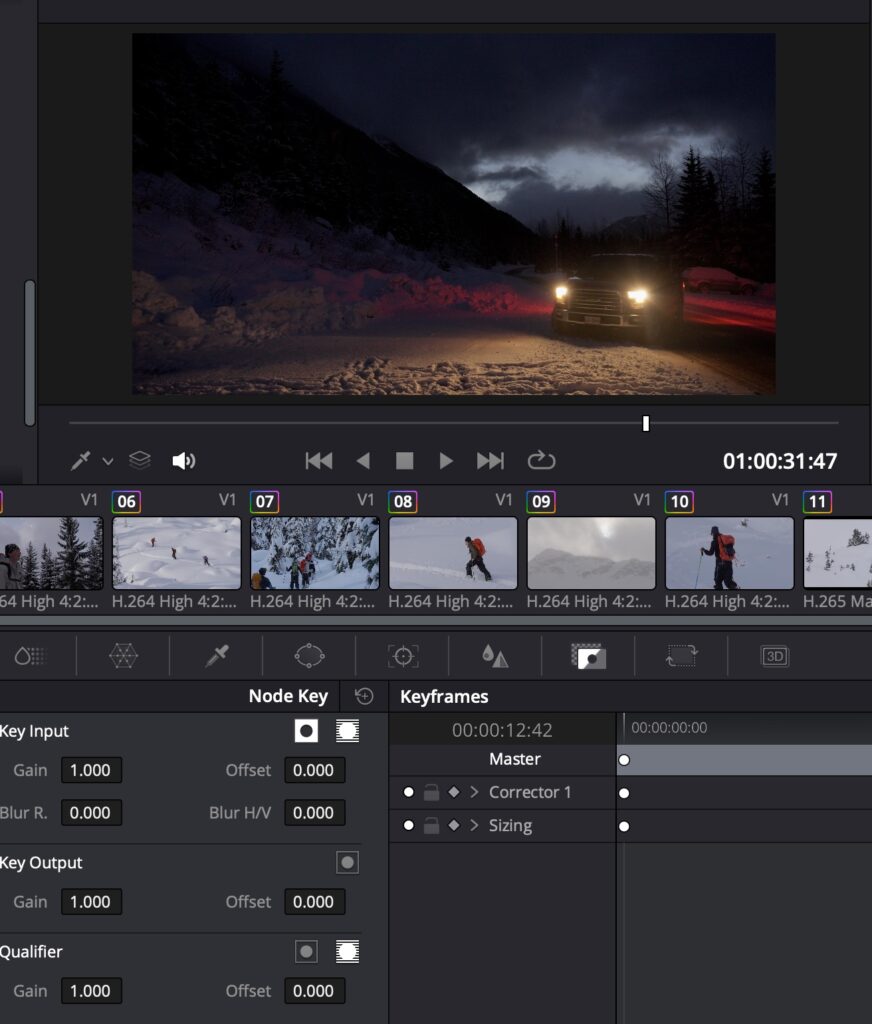
Once I had chosen my software, I first decided to learn how to colour grade the videos and make them look better. At first, I just adjusted the videos in DaVinci by tweaking the hue, saturation, contrast, etc. While this improved the footage, it still wasn’t quite what I wanted. From there, I continued researching and learned that I needed to add LUTs (Look-Up Tables) to make the videos as high quality as possible. Colour grading is a crucial step in filmmaking, as it helps convey mood and narrative depth (Brown, 2016). I watched these videos to learn how to download and apply LUTs in DaVinci Resolve:

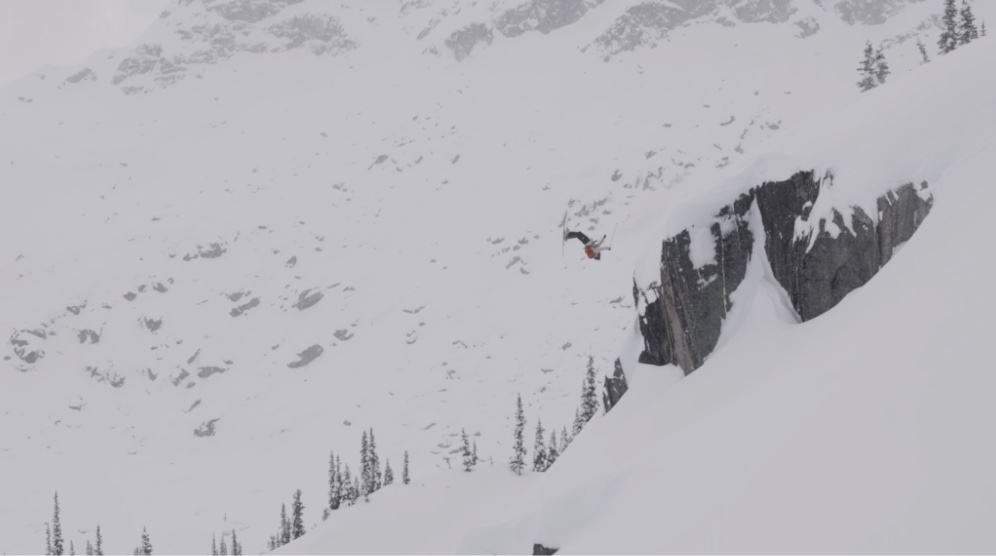
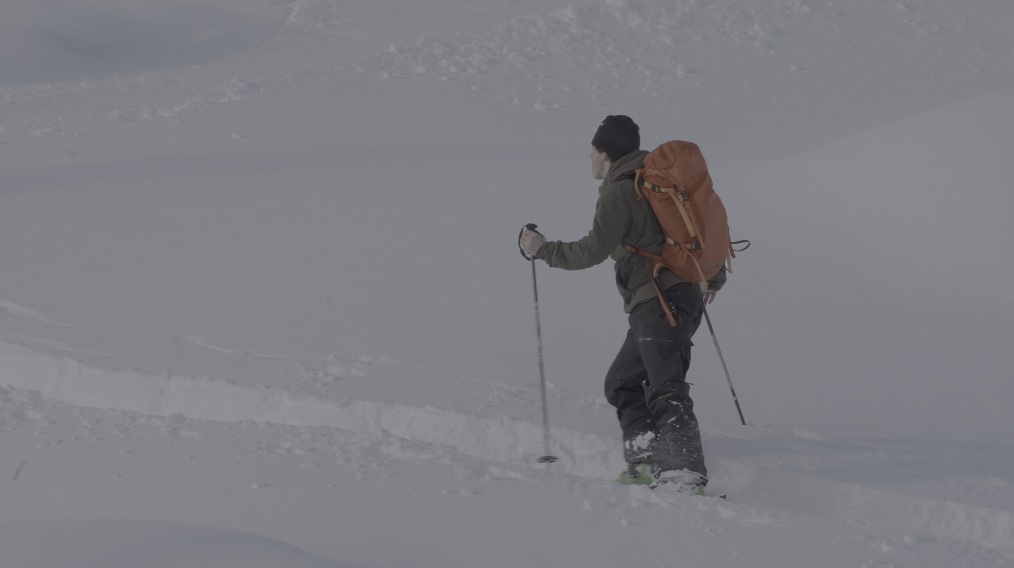
Before I added the LUT:

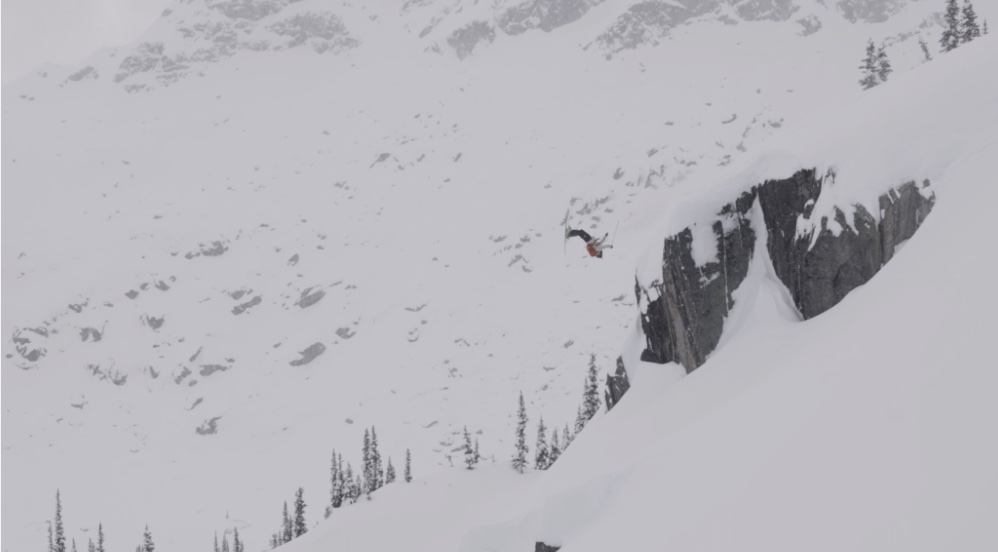
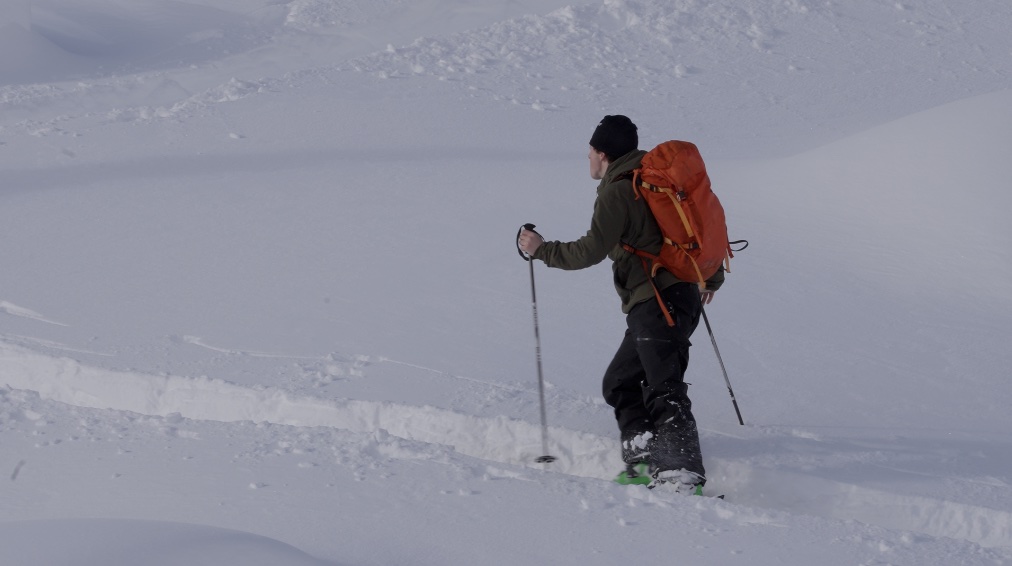
After I added the LUT:


Choosing a Song & Editing

Next, I chose a song and began editing. This process was by far the most time-consuming. I watched this video to learn the basics of editing. Research shows that structured learning through tutorials is an effective way to acquire digital skills efficiently (Unlocking Digital Skills: How Can Young People Thrive in a Digital World?, n.d.). I would definitely recommend watching it before trying to edit, as it will save you a lot of time.

After learning the basics, I continued refining my video. I switched the order of clips, cut out unnecessary footage, and aligned the visuals to fit well with the song. This took a lot of effort, but I’m really happy with how it turned out. Lastly, I added some text at the start of the video that says “The Story of My Life.”

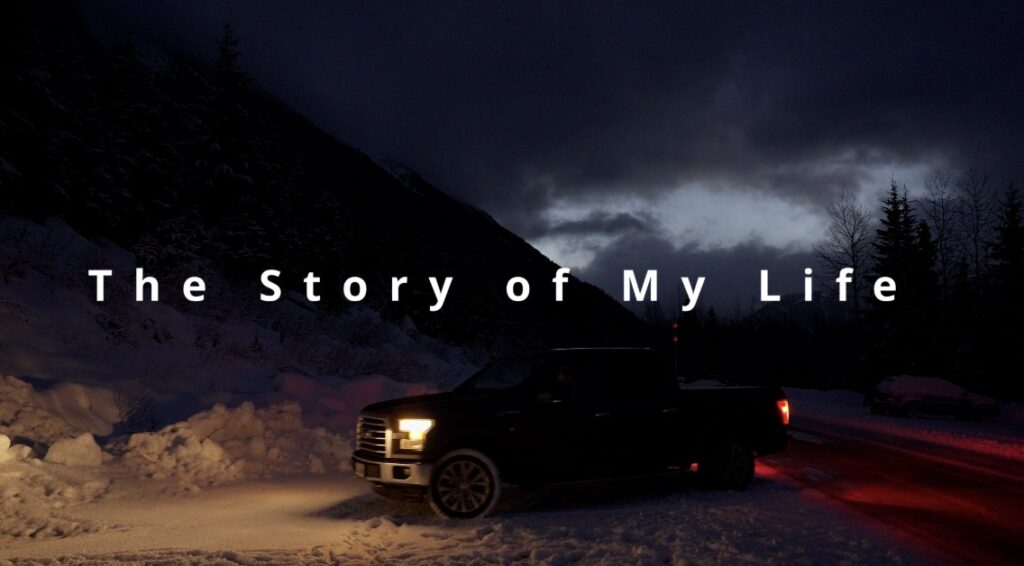
I felt this was fitting because this video, in a way, represents my life, and it is also a lyric from the song I chose. Text in video editing serves as an essential storytelling tool, reinforcing themes and enhancing audience engagement (10 Essential Filmmaking Techniques and Tips to Succeed as a Filmmaker – Routledge Blog, 2024).


Conclusion

I really enjoyed making this project, and it helped me realize how much time goes into creating high-quality videos. Research supports that inquiry projects like this deepen digital literacy by allowing learners to engage in real-world skills that are useful and interesting to them (Grand Canyon University, 2023). I am excited to continue editing videos in the future and to keep improving my skills.

Tips for Beginners:

  • Choose a good editing software—DaVinci Resolve is a great free option.
  • Learn the basics of colour grading and how to use LUTs.
  • Pick a song early on to help structure your edits.
  • Watch tutorial videos before diving in—it will save you a lot of time!
  • Be patient! Editing takes time, but the results are worth it.

Here is my final video. I hope you enjoy it!


“The Story of my Life”


References

10 essential filmmaking techniques and tips to succeed as a filmmaker – routledge blog. (2024, December 10). Routledge.com. https://blog.routledge.com/humanities-and-media-arts/10-essential-filmmaking-techniques-and-tips-to-succeed-as-a-filmmaker/

Brown, B. (2016). Cinematography theory and practice. Routledge. https://doi.org/10.4324/9781315667829

Copple, B. (2023, June 1). 11 basic video editing principles for budding filmmakers | descript. Www.descript.com. https://www.descript.com/blog/article/11-basic-video-editing-principles-for-budding-filmmakers

Grand Canyon University. (2023, July 25). 6 benefits of inquiry-based learning in the classroom. Grand Canyon University. https://www.gcu.edu/blog/teaching-school-administration/6-benefits-inquiry-based-learning-classroom

Unlocking digital skills: How can young people thrive in A digital world? (n.d.). The Social Switch Project. https://www.thesocialswitchproject.org.uk/our-blog/unlocking-digital-skills-how-can-young-people-thrive-in-a-digital-world

Assignment 1: Deep Dive Inquiry – Third Reflection on My Learning Journey

This week for my inquiry project I started by choosing a song and beginning the editing process. I chose St. What’s-Her-Name by Lois because I felt that it worked with my clips well. The lyrics, particularly the line “the story of my life,” resonated with the theme of my video.

To add the song to DaVinci Resolve, I used this website to convert the YouTube video into an MP3 file. After downloading the file, I imported it into the media section of DaVinci Resolve and added it to my timeline.


Editing Process

Once the song was added, I began cutting and splicing the clips, carefully syncing them to the beat and lyrics. I dedicated a significant amount of time to this process, ensuring that the visuals matched the mood of the song. So far, I’m really happy with how the edit is shaping up. It has taken me several hours, but the effort has been worth it.


Next Steps

I am now in the final stages of editing. My next steps include making a few final touches, adjusting the colour grading to mellow out the LUTs, and adding a text overlay at the start of the video that says “The Story of My Life.” I feel this title is fitting since the video itself tells my personal story and aligns perfectly with the song.

I’m excited to complete the final edits and see the finished product! Looking forward to sharing it soon.

Assignment 1: Deep Dive Inquiry – Second Reflection on My Learning Journey

This week for my inquiry project, I continued to focus on learning how to use DaVinci Resolve, as well as organizing my videos and doing my best to set myself up for success in completing the rest of my project.


Sorting and Organizing Video Clips

My next step was to sort through the folder from our trip that my friend sent me, which contained hundreds of videos. My first step was to go through them carefully, selecting the ones that I thought would best fit my project. Once I did this, I downloaded them and added them to my timeline in DaVinci Resolve.


Learning Colour Grading Techniques

After adding the videos to my timeline, I focused on improving the color grading of my videos. My friend shared a folder of LUTs, which would significantly improve the videos and make them look much more professional. To learn how to upload the LUTs to DaVinci Resolve and apply them to my videos, I watched this tutorial.

Once I had a clearer understanding of LUTs, I determined which ones to apply to my clips. Since my footage came from two different cameras, I needed to use two different LUTs . For all videos taken on a Sony camera, I applied the SLOG3 LUT, while for the Canon camera footage, I used CLOG3.


Adjusting LUT Strength

To further refine the look of my videos, I watched this tutorial to understand how to adjust the intensity of LUTs. Some of the clips looked overly intense when the LUT was applied at full strength. To maintain a consistent and natural look, I found it effective to tone down the LUT intensity slightly.

*Lowering the gain would make the LUT less intense.


Reflections and Next Steps

Overall, I am happy with my progress. Last week, I was manually adjusting the colour grading, which was time-consuming and inconsistent. Using LUTs has significantly improved the look of my videos. I am now excited to shift my focus entirely to editing and assembling the final video.

Next, I plan to:

  • Find a song that fits with the video.
  • Begin the editing process.
  • Seek feedback from my POD.
  • Continue refining my draft until I am satisfied with the final product.

I’m looking forward to continuing to learn more about video editing!

Assignment 1: Deep Dive Inquiry – First Reflection on My Learning Journey

Learning Professional Video Editing and Colour Grading 

For my deeper dive inquiry, I have chosen to learn how to edit professional videos and color grade them. This skill is essential for creating high-quality content, which is one of my passions as I am trying to improve my social media presence as a competitive skier and biker. 


Getting Started 

To begin, I gathered a few clips that I will use for my edit. I am still waiting for my friend to send me the remaining folder with the rest of the videos. My first step was to download DaVinci Resolve, a professional video editing software, onto my computer. 

Next, I watched a few tutorial videos to understand the basics: 

  • This video helped me learn the fundamentals of DaVinci Resolve. 
  • This video introduced me to colour grading techniques. 

Importing and Organizing Footage 

Once I had a basic understanding of the software, I learned how to import the clips I have so far into my timeline. 


Learning Basic Edits 

After importing my clips, I started practicing simple editing techniques. I focused on: 

  • Cutting and trimming clips 
  • Adjusting the speed of the clips 

Introduction to Colour Grading 

Since my clips were filmed in LOG, they needed proper colour grading to look polished and professional. What is LOG?  

To start learning how to colour grade, I watched this tutorial. This has been one of the more challenging aspects of my learning process, and I have spent a significant amount of time trying to achieve the right look for my footage. 

Below is a before and after of my colour grading:  

Before:

After:


Next Steps 

My next steps to complete my project and continue my learning is to:  

  1. Continue learning more advanced colour grading techniques to further improve my clips. 
  1. Add the remaining video clips once I receive them. 
  1. Apply consistent color grading across all footage. 
  1. Find a suitable song to match the edit. 
  1. Begin to put my edit together and complete my first draft.  

I am looking forward to seeing how my project evolves and improving my skills along the way!