Learning Professional Video Editing and Colour Grading
For my deeper dive inquiry, I have chosen to learn how to edit professional videos and color grade them. This skill is essential for creating high-quality content, which is one of my passions as I am trying to improve my social media presence as a competitive skier and biker.
Getting Started
To begin, I gathered a few clips that I will use for my edit. I am still waiting for my friend to send me the remaining folder with the rest of the videos. My first step was to download DaVinci Resolve, a professional video editing software, onto my computer.
Next, I watched a few tutorial videos to understand the basics:
- This video helped me learn the fundamentals of DaVinci Resolve.
- This video introduced me to colour grading techniques.
Importing and Organizing Footage
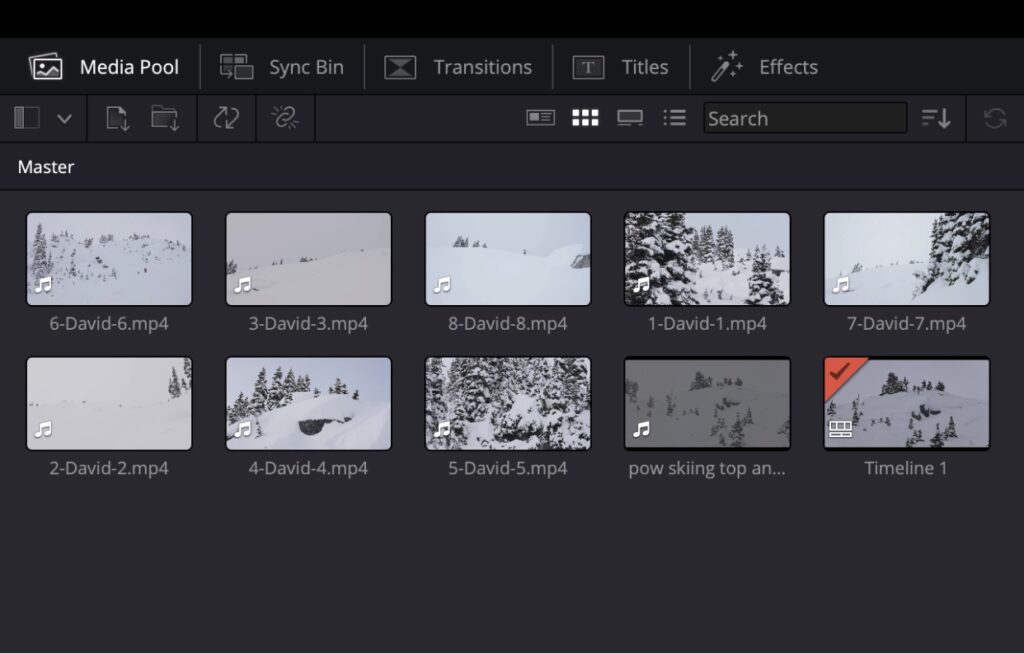
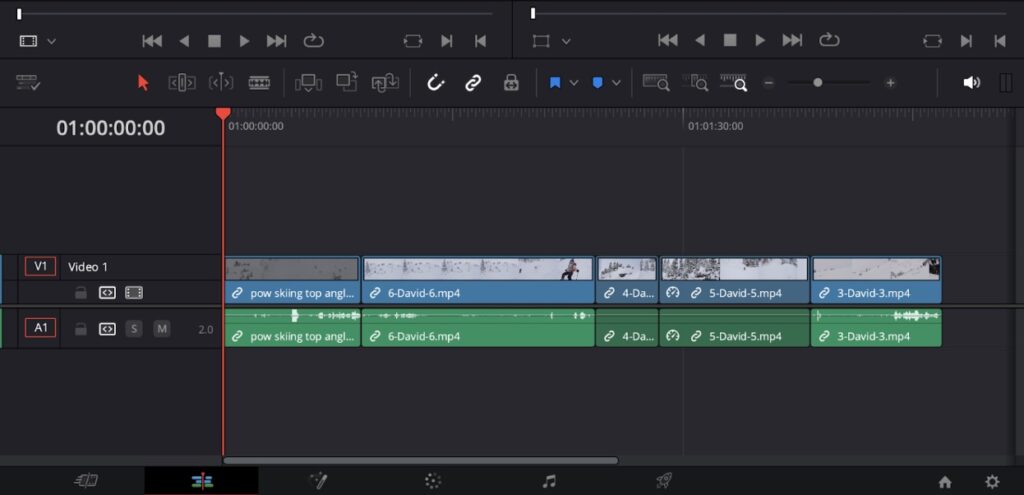
Once I had a basic understanding of the software, I learned how to import the clips I have so far into my timeline.
Learning Basic Edits
After importing my clips, I started practicing simple editing techniques. I focused on:
- Cutting and trimming clips
- Adjusting the speed of the clips
Introduction to Colour Grading
Since my clips were filmed in LOG, they needed proper colour grading to look polished and professional. What is LOG?
To start learning how to colour grade, I watched this tutorial. This has been one of the more challenging aspects of my learning process, and I have spent a significant amount of time trying to achieve the right look for my footage.
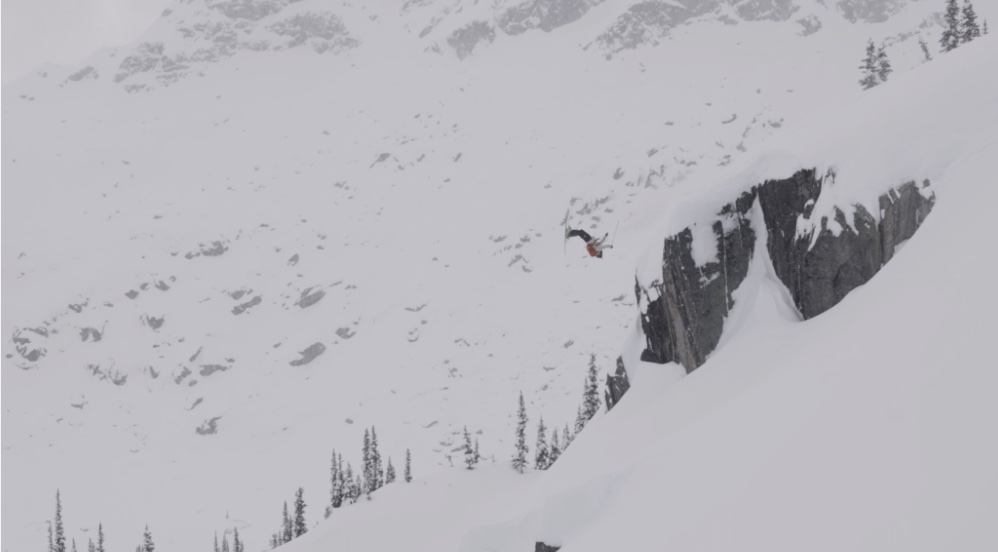
Below is a before and after of my colour grading:
Before:
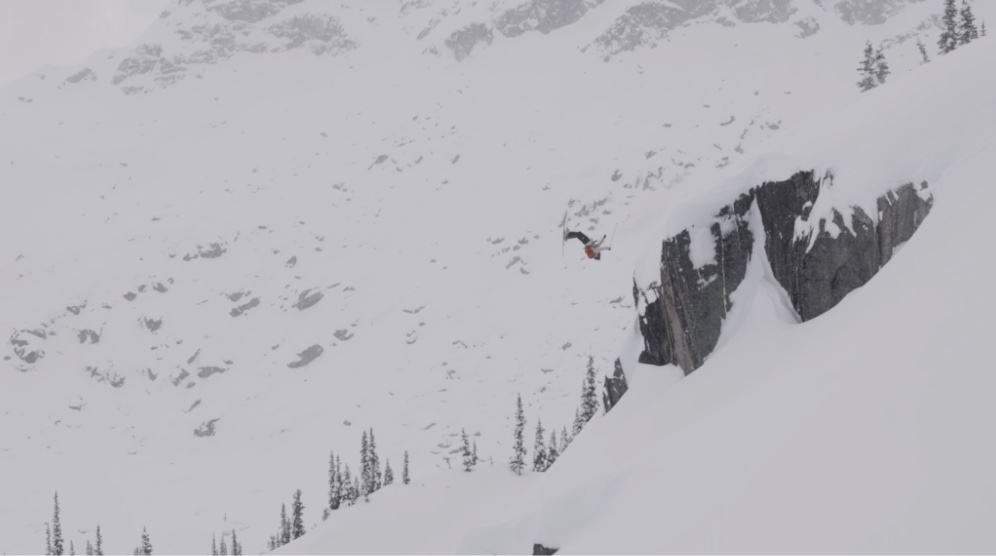
After:
Next Steps
My next steps to complete my project and continue my learning is to:
- Continue learning more advanced colour grading techniques to further improve my clips.
- Add the remaining video clips once I receive them.
- Apply consistent color grading across all footage.
- Find a suitable song to match the edit.
- Begin to put my edit together and complete my first draft.
I am looking forward to seeing how my project evolves and improving my skills along the way!